7 Best Homemade Herbal Skincare Recipes For Acne
If you're seeking a natural way to tackle acne, explore these Top 7 Herbal Skincare Recipes For Acne—your skin will thank you for the wholesome care.
Disclaimer: This is not medical advice. Information and statements shown here are for educational and informational purposes only and are not to replace the advice of your healthcare professional.
This post may include affiliate links. Please refer to our disclaimer for full disclosure.
Acne isn't just for teenagers. It's a skin issue that affects people of all ages. It shows up as whiteheads, blackheads, pimples, and sometimes painful cysts. This happens when the skin's pores get clogged with oil, dead skin, and bacteria.
More than just a skin problem, acne can hurt how people feel about themselves, pushing many to look for quick and effective solutions. Many are now turning to natural, herbal remedies for a gentler way to tackle acne.
These remedies support the body's own healing, avoiding the harsh effects of chemical treatments. They not only help clear up acne but also soothe the skin and encourage healing, offering a more holistic approach to skin health.
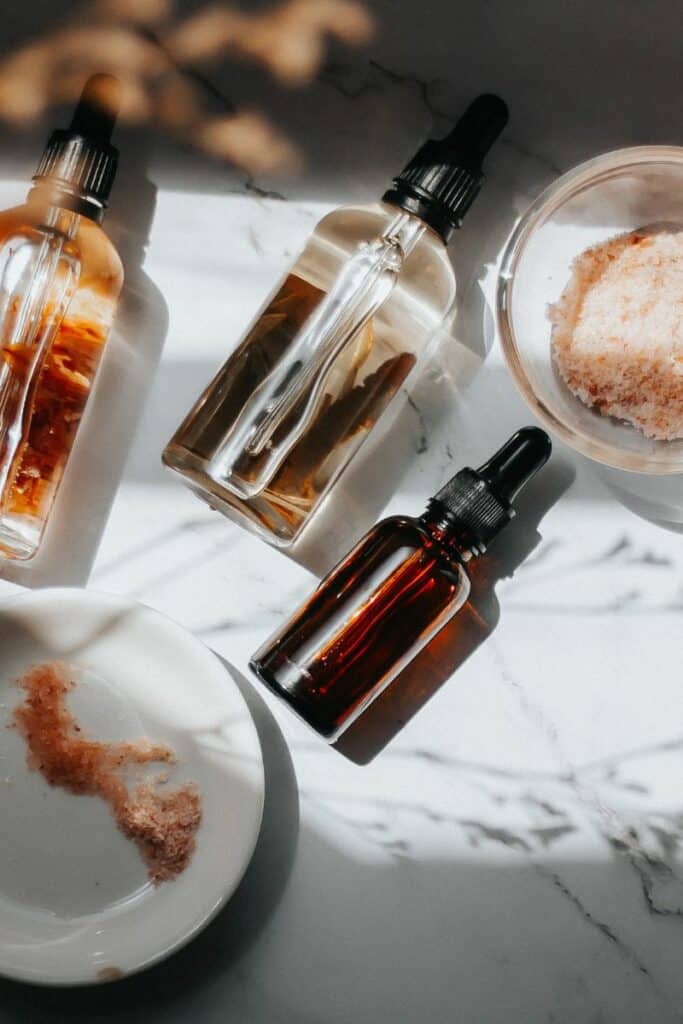
DIY herbal skincare lets you tap into nature's own medicine cabinet. Starting with whole herbs connects us more deeply with the natural world and gives us a better understanding of each plant's benefits. This hands-on method makes sure the remedies are fresh and strong, providing a caring and effective way to manage acne.
By making your own herbal skincare, you're joining a long tradition of natural healing. These recipes are crafted for those who want their skincare to be in tune with nature's rhythms, combining age-old wisdom with our modern need for healthy, clear skin.
Top 7 Herbal Skincare Recipes For Acne
Enjoy these 7 DIY skincare recipes for a more natural approach to your skincare routine. Tailored to soothe acne breakouts and prevent future occurrences, these remedies can even out-perform store-bought products!
1. Witch Hazel and Tea Tree Oil Astringent
Witch hazel is a natural astringent, meaning it helps tighten skin and reduce inflammation, making it great for tackling acne. It's gentle on the skin and can help reduce the appearance of pores.
Tea tree oil, on the other hand, is known for its antibacterial and anti-inflammatory properties. It works against acne by killing bacteria and soothing inflamed skin. Together, witch hazel and tea tree oil create a powerful duo for fighting acne and promoting clearer, healthier skin.
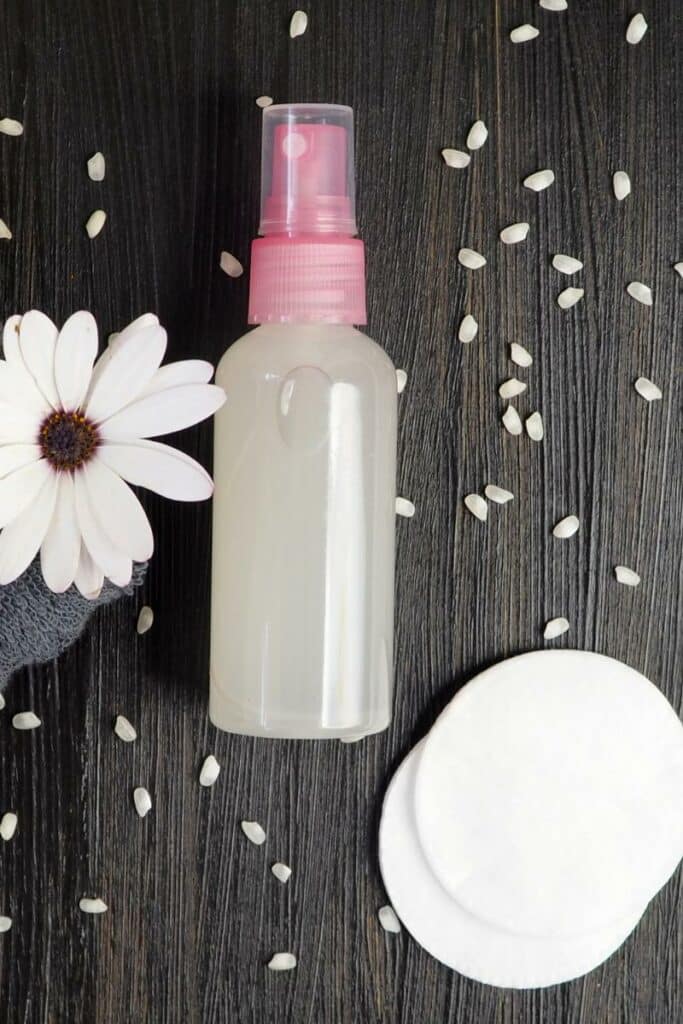
DIY Witch Hazel and Tea Tree Oil Astringent Recipe
For this recipe, we'll start with store-bought pure witch hazel and tea tree oil, ensuring both effectiveness and ease of preparation.
Ingredients:
- 1 cup pure witch hazel
- 20 drops of tea tree oil
Instructions:
- In a clean, dry bottle, pour 1 cup of pure witch hazel.
- Add 20 drops of tea tree oil to the witch hazel.
- Secure the lid on the bottle and shake well to mix the ingredients thoroughly.
- Label your bottle with the date so you can keep track of its shelf life.
Application Tips:
- Usage: After cleansing your face, soak a cotton ball or pad with the astringent and gently apply it to your face, focusing on acne-prone areas. Avoid the area around your eyes. There's no need to rinse it off; let your skin air dry.
- Frequency: You can use this astringent in the morning and evening, but if you notice any dryness or irritation, reduce the frequency of application.
- Storage: Store your astringent in a cool, dark place. The natural properties of witch hazel and tea tree oil help this astringent stay potent. For best results, try to use it within 6 months.
By combining the natural astringent properties of witch hazel with the antibacterial power of tea tree oil, this DIY astringent offers a simple yet effective solution for managing acne-prone skin.
2. Green Tea and Aloe Vera Gel
Green tea is packed with antioxidants that protect the skin from damage and reduce inflammation, which is crucial for managing acne. These antioxidants can also help your skin look fresher and younger.
Aloe vera, known for its soothing properties, provides relief to irritated skin, hydrates without clogging pores, and helps in healing acne scars.
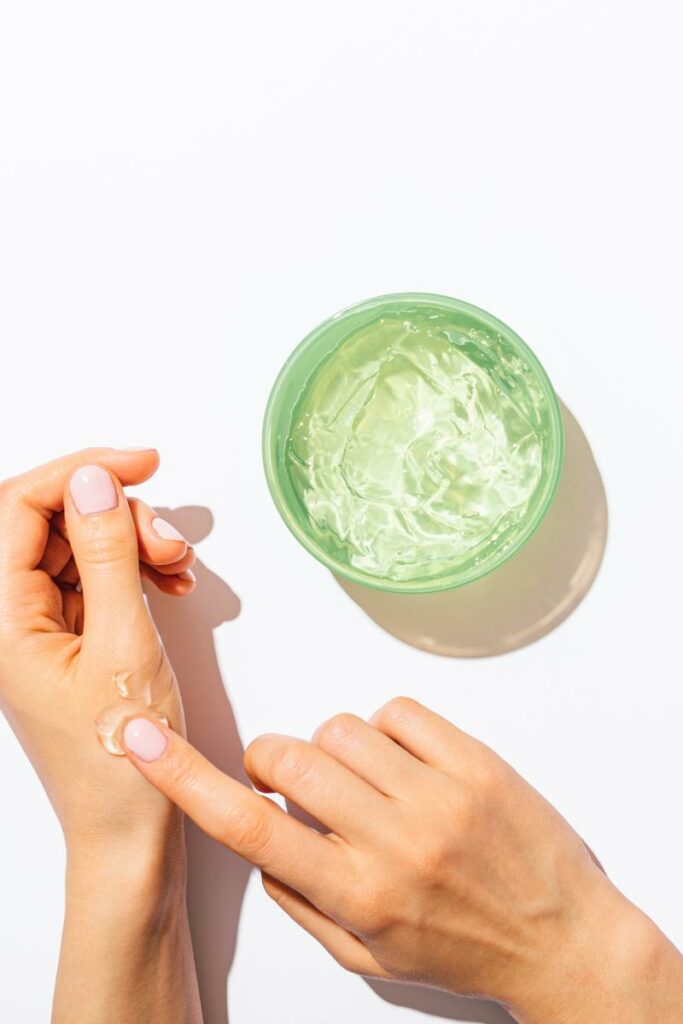
DIY Green Tea and Aloe Vera Gel Recipe
Ingredients:
- 1 cup freshly brewed green tea (from leaves)
- 1/4 cup fresh aloe vera gel (harvested from the plant ideally)
- Optional: 1 teaspoon vitamin E oil (as a natural preservative)
Brewing Green Tea:
- Heat water until just before it boils and pour over 2 tablespoons of green tea leaves.
- Allow the tea to steep for 3-5 minutes, then strain the leaves out and let the tea cool to room temperature.
Harvesting Aloe Vera Gel:
- Cut a few outer leaves from an aloe vera plant.
- Slice off the thorny edges, and then split the leaf open lengthwise.
- With a spoon, gently scoop out the clear gel inside.
You can also buy store-bought aloe vera gel. Just be sure the only ingredient is pure aloe vera gel.
Combining Ingredients:
- Mix the cooled green tea and aloe vera gel in a blender for a smooth consistency. If using, add the vitamin E oil now; it acts as a natural preservative and also nourishes the skin.
- Pour the mixture into a clean, airtight container.
Usage:
- Application: With clean hands or a cotton pad, apply the gel to your face after cleansing, focusing on acne-prone or irritated areas. It can be used as a soothing mask, leave it on for about 10-15 minutes, then rinse with cool water, or as a leave-on treatment.
- Frequency: For best results, use this gel in the morning and evening.
- Storage: Keep the gel in the refrigerator to maintain its freshness. The cool temperature also adds an extra soothing effect upon application. If you've added vitamin E oil, the gel can last for 1-2 weeks. Without it, aim to use it within a few days to ensure it stays fresh.
This green tea and aloe vera gel combines the best of both worlds – the antioxidant power of green tea with the soothing, hydrating properties of aloe vera. It's a gentle, effective remedy for soothing acne-prone skin and supporting skin health.
3. Neem Oil Spot Treatment
Neem oil is derived from the seeds of the neem tree, a plant native to the Indian subcontinent. It is celebrated for its potent antibacterial and anti-inflammatory properties, making it an exceptional choice for targeting acne-causing bacteria and reducing redness and swelling associated with acne blemishes.
Neem oil works by controlling the production of sebum (the oil your skin produces) and preventing the buildup of bacteria that can lead to acne development.
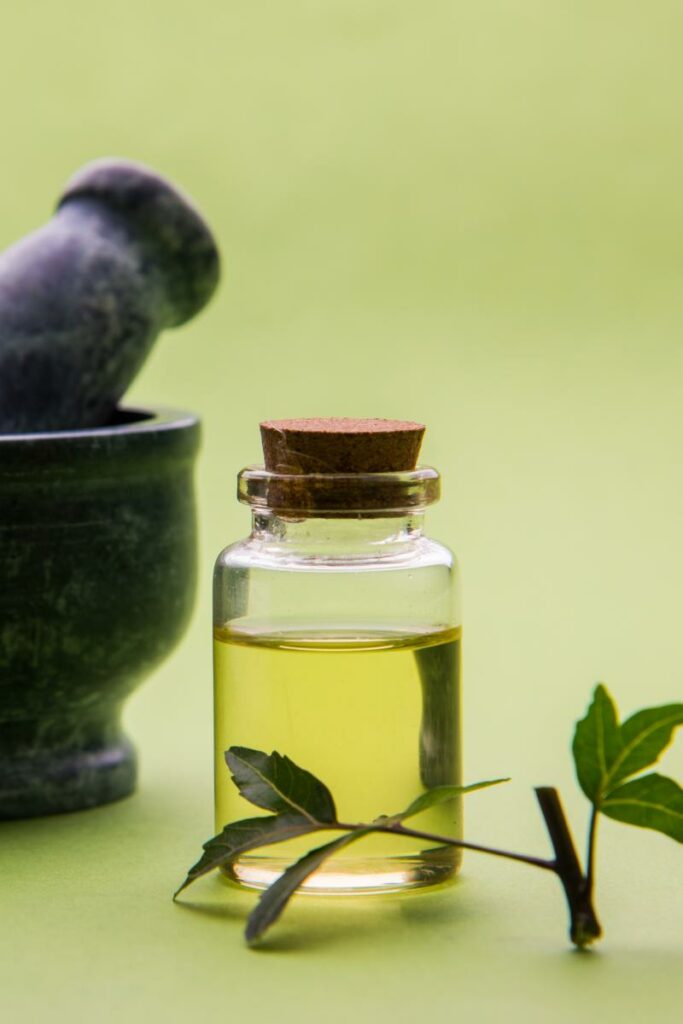
DIY Neem Oil Spot Treatment Recipe
Ingredients:
- 1 tablespoon neem oil
- 1 teaspoon jojoba oil or sweet almond oil (as a carrier oil to dilute the neem oil and make it skin-friendly)
- 2-3 drops of lavender oil (optional, for added scent and anti-inflammatory properties)
Instructions:
- In a small, clean bottle, combine the neem oil with your choice of carrier oil. These oils work together to balance the potent effects of neem while ensuring it's gentle on your skin.
- If desired, add 2-3 drops of lavender oil for its calming properties and pleasant aroma.
- Close the bottle and shake well to ensure the oils are thoroughly mixed.
- Label your concoction with the preparation date to track its freshness.
Usage:
- Application: Use a clean cotton swab to apply a small amount of the neem oil spot treatment directly to the blemishes. This targeted application ensures that the potent ingredients work exactly where they're needed without affecting the surrounding skin.
- Frequency: Start by applying the spot treatment to affected areas once a day. If your skin responds well and requires more frequent application, you can use it up to twice a day.
- Aftercare: Neem oil can be potent, so observe how your skin reacts. If you experience any irritation or dryness, reduce the frequency of application.
Storage: Keep your neem oil spot treatment in a cool, dark place to maintain its potency. Ideally, use it within 3-6 months for the best effectiveness.
This neem oil spot treatment harnesses the natural antibacterial and anti-inflammatory properties of neem, offering a powerful, natural solution for managing acne spots. By combining it with gentle carrier oils and optionally with lavender for additional skin and sensory benefits, this treatment becomes a must-try for anyone battling with acne-prone skin.
4. Rosewater Moisturizer
Rosewater is celebrated for its ability to tone and soothe the skin, reducing redness and calming irritation. Its natural anti-inflammatory properties make it an excellent choice for acne-prone skin.
Aloe vera, on the other hand, is renowned for its hydrating and healing abilities. It provides a lightweight moisture that doesn't clog pores, making it ideal for oily and acne-prone skin types.
Together, rosewater and aloe vera create a moisturizer that hydrates, soothes, and balances the skin, promoting a clearer, more radiant complexion.

DIY Rosewater Moisturizer Recipe
Ingredients:
- 1/4 cup pure rosewater (you can also make this yourself)
- 1/4 cup aloe vera gel (ensure it's pure and free from added colors or fragrances)
- 1 teaspoon vegetable glycerin (optional, for added moisture)
- A small amount of xanthan gum (optional, to thicken the mixture if desired)
Instructions:
- In a clean bowl, mix the rosewater and aloe vera gel. These two ingredients form the base of your moisturizer, providing hydration and soothing benefits.
- If you're using vegetable glycerin, add it to the mixture. This step is optional but recommended for those seeking extra moisture, especially in dryer climates.
- For a slightly thicker consistency, which can be easier to apply, sprinkle a tiny amount of xanthan gum into the mixture. Whisk rapidly to incorporate it fully and avoid clumps. Start with a very small amount; you can always add more if needed.
- Once your mixture reaches the desired consistency, transfer it to a clean, sterilized bottle or jar.
Usage Guidelines:
- Application: Use this moisturizer on clean skin. You can apply it with your fingers, spreading it gently across your face and neck. It's light enough to be used under makeup or as part of your nighttime skincare routine.
- Frequency: This moisturizer is gentle enough for daily use, both morning and night. It can also be reapplied throughout the day as a refreshing mist if you keep it in a spray bottle.
- Storage: Store your moisturizer in the refrigerator to keep it fresh. The cool temperature will also provide an additional soothing effect upon application. Use within 1-2 weeks for best quality.
Creating a rosewater and aloe vera moisturizer offers a natural, effective way to hydrate and soothe acne-prone skin without the heaviness of traditional creams. This simple, two-ingredient blend leverages the power of nature to help maintain a balanced, healthy-looking complexion.
5. Castor Oil and Shea Butter Moisturizing Cream
Castor oil is celebrated for its anti-inflammatory properties, making it a great choice for calming irritated skin. Shea butter, rich in fatty acids and vitamins, offers deep moisturization and aids in the skin's natural healing process.
When combined, castor oil and shea butter form a potent moisturizer that not only hydrates dry, acne-prone skin but also helps reduce inflammation and promote a healthier complexion. Adding lavender oil introduces a calming scent and enhances the cream's skin-soothing benefits.
For individuals with oily skin, there's no need to worry that these treatments will add more oil to your skin. In fact, these natural remedies are designed to help balance your skin's oil production.
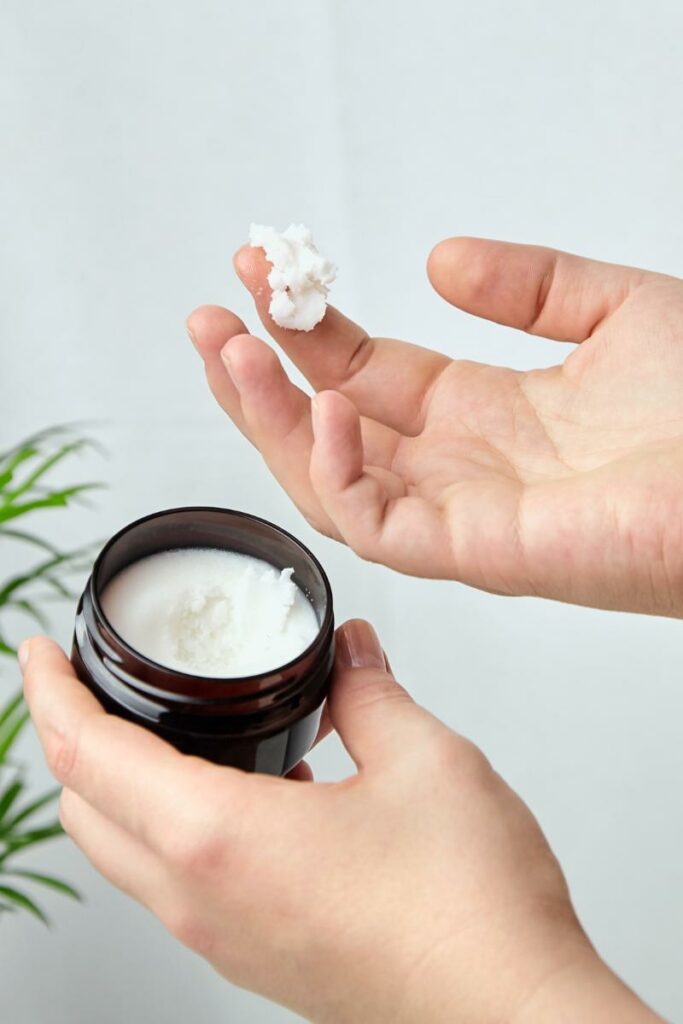
DIY Castor Oil and Shea Butter Moisturizing Cream Recipe
This recipe focuses on natural, effective ingredients to create a deeply nourishing cream suitable for acne-prone skin.
Ingredients:
- 4 tablespoons shea butter
- 2 tablespoons castor oil (hexane-free, organic if possible)
- A few drops of lavender oil (optional, for added scent and anti-inflammatory properties)
Instructions:
- Use a double boiler to gently melt the shea butter. Remove from heat as soon as it's fully melted to preserve its nutrients.
- Stir in the castor oil, ensuring the two oils are well combined.
- If using, add a few drops of lavender oil to the mixture for its calming properties and pleasant fragrance.
- Pour the mixture into a small, clean jar and allow it to cool and solidify.
Application Tips:
- Usage: After cleansing, apply a small amount of the moisturizing cream to your face, gently massaging it into the skin. The cream is particularly beneficial for dry areas and can be used to soothe acne inflammation.
- Frequency: Suitable for daily use, either in the morning to hydrate and protect the skin for the day or at night as a part of your bedtime skincare routine.
- Storage: Store the cream in a cool, dry place. If kept in a suitable environment, it should remain effective for up to 6 months.
Honorable Mention! Have you ever tried tallow face cream for acne and skin inflammation? Check out this DIY recipe to make your own.
By blending the rich, healing properties of shea butter with the anti-inflammatory benefits of castor oil, this DIY moisturizing cream offers a simple yet highly effective solution for nurturing and protecting dry, acne-prone skin. The optional addition of lavender oil enhances the cream's soothing effects and provides a sensory experience that calms both skin and mind.
6. Acne-Prone Skin Clay Face Mask Powder
This clay face mask powder, formulated specifically for acne-prone skin, utilizes the powerful cleansing properties of Bentonite clay.
Bentonite clay is renowned for its ability to draw out skin impurities, clear pores, and diminish the appearance of acne. Moreover, it aids in soothing and healing irritated skin plus clearing dead skin cells, making it an ideal component for a mask designed to address acne-related concerns.
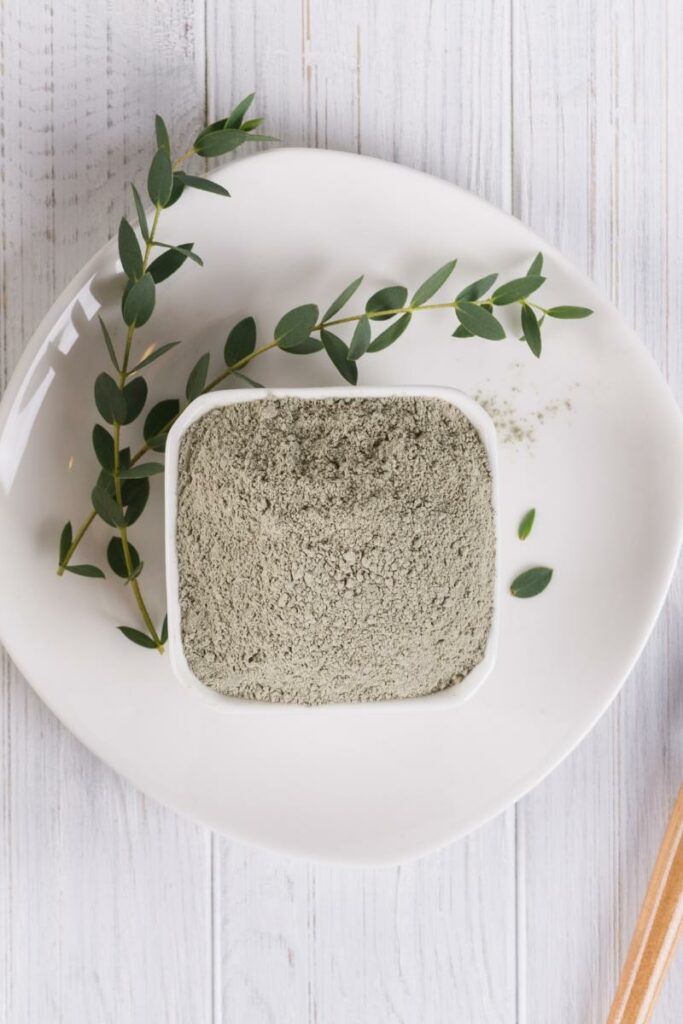
DIY Bentonite Clay Face Mask Powder Recipe
This recipe creates a dry mask powder that can be mixed with water or apple cider vinegar at the time of use, ensuring freshness and allowing for customization depending on your skin's sensitivity and needs.
Ingredients for the Powder:
- 1/2 cup Bentonite clay
- 2 tablespoons activated charcoal powder (to enhance detoxification and draw out impurities)
- 1 tablespoon ground oatmeal (for its soothing and anti-inflammatory properties)
- 1 tablespoon turmeric powder (for its anti-inflammatory and antibacterial benefits, aiding in acne reduction)
- 1 teaspoon ground neem leaf powder (optional, for added antibacterial and antifungal effects)
Instructions to Prepare the Powder:
- In a clean, dry bowl, mix all the dry ingredients thoroughly until you achieve a uniform blend.
- Transfer the mixture to an airtight container for storage. Ensure the container is completely dry to avoid activating any of the ingredients prematurely.
To Use:
- In a small dish, mix a small amount of the face mask powder with water or apple cider vinegar to form a paste. The ratio should start with about 1 part powder to 1.5 parts liquid, adjusting as necessary to achieve your desired consistency.
- Apply the paste to clean, dry skin, avoiding the eye and mouth areas.
- Leave the mask on for 10-15 minutes, or until it begins to harden but is not fully dry (to prevent skin dehydration).
- Rinse off with warm water, gently massaging in a circular motion for an exfoliating effect.
- Follow up with a moisturizer suitable for acne-prone skin.
Storage Tips:
- Keep the dry mask powder in a cool, dry place. If stored properly in an airtight container, the powder can last up to a year.
- Always use a dry spoon or scoop to dispense the powder for mixing to avoid introducing moisture into the storage container.
This acne-prone skin clay face mask powder offers a customizable, powerful solution for deep cleansing, soothing irritation, and addressing acne concerns. Its dry formulation allows for long-term storage and freshness with each use, making it a convenient and effective addition to your skincare routine.
7. Raw Honey Foaming Facial Cleanser
Raw honey is a natural humectant, drawing moisture into the skin while its antibacterial properties help combat acne-causing bacteria. This gentle yet effective cleanser is perfect for acne-prone skin, offering hydration without stripping the skin's natural oils, reducing inflammation, and providing a soothing effect.
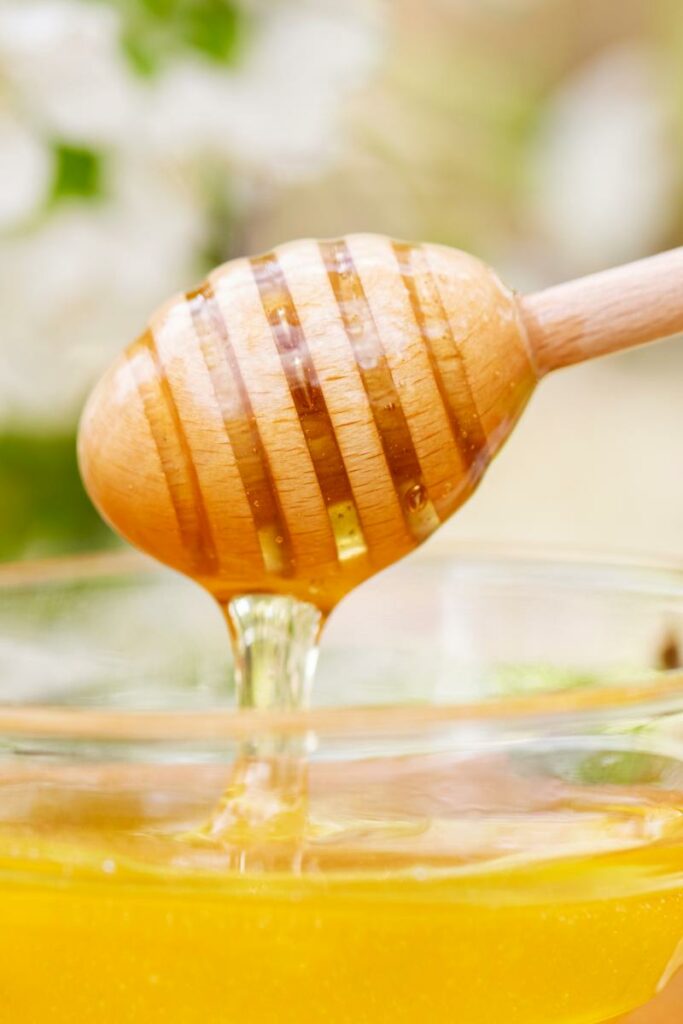
DIY Foaming Facial Cleanser Recipe
This recipe is designed to create a gentle, foaming facial cleanser that can be stored in a foaming hand soap bottle for easy and convenient daily use.
Ingredients:
- 1/4 cup raw honey
- 1 cup distilled water
- 2 tablespoons mild, unscented liquid Castile soap
- 1 teaspoon jojoba oil (to mimic the skin’s natural oils and provide moisture)
- Optional: 10-15 drops of tea tree essential oil (for added antibacterial and anti-acne properties)
Instructions:
- Start by diluting the raw honey in distilled water. It helps to gently warm the water (not hot) to dissolve the honey more effectively. Ensure the honey is completely dissolved.
- Once the honey and water mixture is uniform, add the liquid Castile soap and jojoba oil. Stir gently to combine without creating too many suds.
- If you’re adding tea tree essential oil for its acne-fighting benefits, mix it in now.
- Pour the mixture into a clean, empty foaming hand soap bottle. If you don't have a funnel, you can use a measuring cup with a spout to reduce spillage.
- Label your bottle with the contents and date made.
To Use:
- Wet your face with warm water.
- Pump a small amount of the foaming cleanser into your hands and gently massage it onto your face in circular motions, avoiding the eye area.
- Rinse thoroughly with warm water and pat your face dry with a clean towel.
- Follow up with your regular skincare routine.
Storage Tips:
- Store your foaming facial cleanser in a cool, dry place away from direct sunlight, like a bathroom cabinet.
- Given the natural ingredients, aim to use the cleanser within a month for best quality. The inclusion of water without a preservative shortens the shelf life, so it’s important to monitor for any changes in smell or texture.
This Raw Honey Foaming Facial Cleanser is a wonderfully natural way to cleanse acne-prone skin, offering moisture, antibacterial benefits, and a soothing touch with every wash.
Tips On Natural Ingredients To Avoid (For Acne-Prone Skin)
While embracing natural and herbal remedies for skincare, especially for acne-prone skin, it's crucial to be selective about the ingredients used. Not all natural ingredients are suitable for every skin type, particularly for those with oily or sensitive skin. Here, we delve into some natural ingredients that might be best avoided and explain why.
- Coconut Oil: Despite its popularity in skincare, coconut oil is highly comedogenic, meaning it can easily clog pores and trigger acne outbreaks. Its thick texture is great for body moisturization but can be too heavy for the face if you're prone to acne.
- Lemon Juice: Often used for its brightening properties, lemon juice can be too acidic for the skin, causing irritation, dryness, or even chemical burns when exposed to sunlight. Its high pH can disrupt the skin's natural barrier, leading to more harm than good.
- Essential Oils: While many essential oils, like tea tree or lavender, can be beneficial for acne-prone skin when used correctly, others can be irritating. It's essential to dilute essential oils with a carrier oil and conduct a patch test before full application. Additionally, some oils are photosensitive, making the skin more susceptible to sun damage.
- Baking Soda: Though it's touted as a natural exfoliant and cleansing agent, baking soda has a very high pH, which can disturb the skin's natural acid mantle, leading to irritation and dryness. It's best to use skincare products formulated with pH levels compatible with the skin.
Conclusion
Embracing natural and herbal remedies offers a gentle yet powerful approach to managing acne-prone skin. From the astringent properties of witch hazel and tea tree oil to the soothing effects of green tea and aloe vera, each ingredient has been selected for its unique ability to combat acne, soothe irritation, and promote healthy skin.
By incorporating these DIY recipes into your skincare routine, you're not only taking a step towards clearer, healthier skin but also connecting with the age-old tradition of natural healing.
These recipes are designed to be simple, effective, and suitable for various skin types, especially those struggling with acne. By making your skincare products, you ensure that what you're applying to your skin is fresh, free of unnecessary chemicals, and tailored to your skin's needs. Remember, the journey to clear skin is a process, and these natural remedies can be a rewarding part of that journey, offering benefits that extend beyond just the surface of your skin.
